Replacing Your Car Battery: 9 Easy Steps
Adia Tay
Image Credit: Daniel | Unsplash
Replacing your car battery is not uncommon. Batteries tend to wear out after about 3 years for some brands, and even shorter for others. Once they do, they’ll need to be replaced. If you’re unsure of when your battery needs to be replaced, you can read this article that breaks down the signs of a faulty battery.
Although it’s easy enough to go into a shop and get it fixed, those costs can add up. So, here’s a guide on how to replace your battery yourself. Be sure to read through this entire guide thoroughly before you attempt to change your battery yourself.
Tools You’ll Need:
Socket wrench
Socket extension
Wire brush
New car battery
Work gloves
Cleaning cloths
Battery cleaning and anti-corrosive solution
Step #1: Park the car and turn the engine off
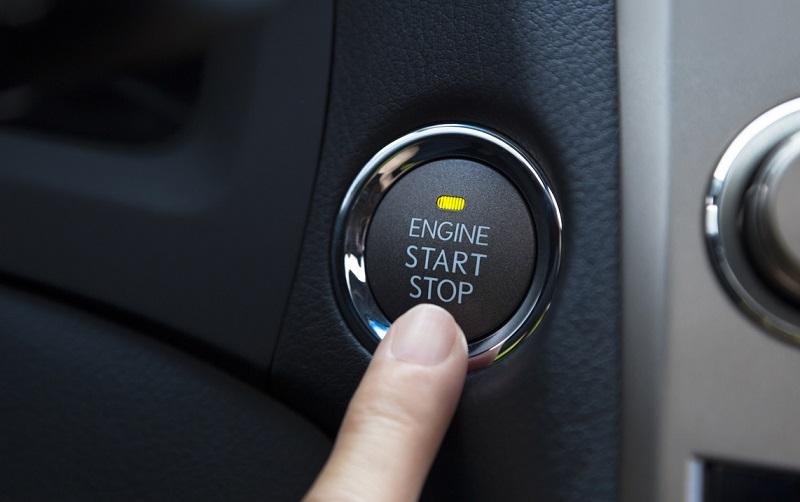
Image Credit: Car From Japan
The first step when replacing your car battery is you want to park your car and turn off the engine. Be sure you find a space where you have plenty of space to work with. And you definitely don’t want to be in anyone’s way. Once you’ve found that place, give your engine some time to cool off before getting started.
Step #2: Pop the hood and find your battery

Image Credit: Patrick | Unsplash
Make sure you consult your owners manual before changing your battery. It’ll tell you lots of important information pertaining to your car, and let you know where exactly the battery is located.
Identify the negative and positive terminal of your battery. The negative terminal will have a negative sign and black cable, and the positive one will have a plus sign and red plastic cover.
Step #3: Detach cables
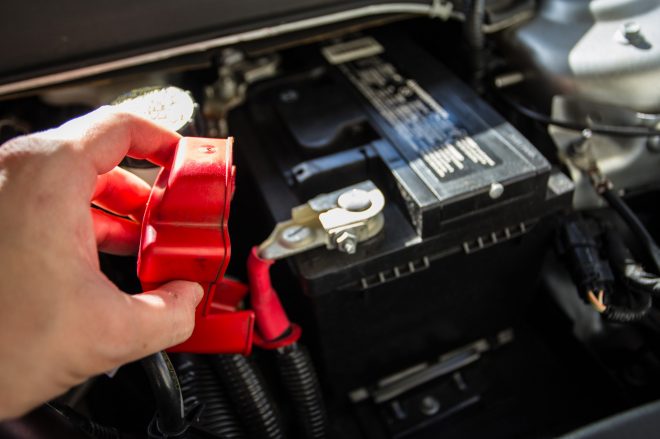
Image Credit: Torque
Make sure that you remove the negative cable before the positive. Wear your work gloves and use a wrench to loosen the nut on the black cable (the negative terminal), then detach the cable, and set it aside, away from the battery.
Next, do the same with the positive terminal. Use the wrench to loosen the nut and detach the red cable, also setting it aside away from the battery.
Step #4: Removing battery
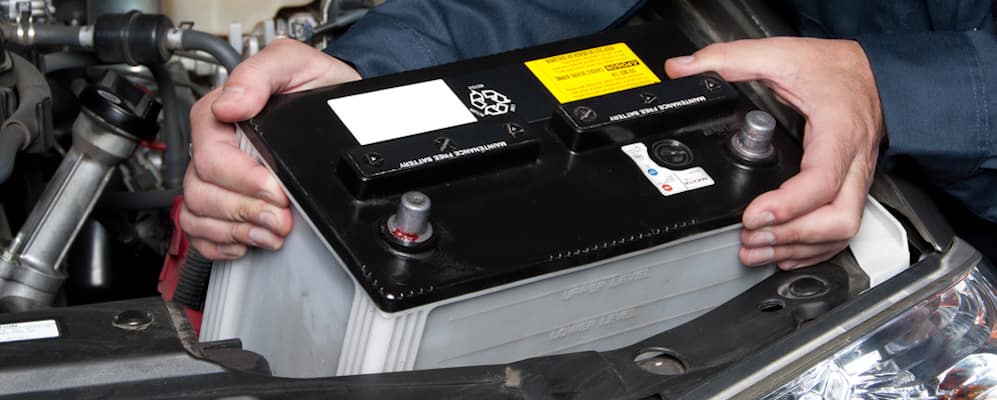
Image Credit: Dick’s Hilsboro Honda | Unsplash
Remove any clamps or brackets that may be securing the battery to the car. While doing so, be sure to not let any metal objects touch both the positive and negative terminals.
Once you’re ready, carefully remove the battery from the tray.
Step #5: Clean connectors
Image Credit: Dengarden
Clean the connectors and trays using a wire brush and battery cleaning solution. Once you’ve cleaned it, be sure to wipe it down thoroughly with a cloth.
Be sure that any moisture present is completely gone before going onto the next step, connecting your new battery.
Step #6: Insert battery

Image Credit: Sam Lyod | Unsplash
Insert the new battery into the tray, and make sure the positive terminal is near the red cable, and the negative terminal is by the black cable.
Step #7: Protect terminals
Image Credit: Char Kirchoff | Unsplash
Remove the covers off of the terminals and spray them with an anti-corrosive solution.
Step #8: Attach cables

Image Credit: Christian Buehner | Unsplash
Next, attach the cables, starting with the positive terminal. This process basically is the reverse of taking out a battery, so you’ll start with the positive terminal and red cable.
Attach the red cable to the positive terminal, and then attach the black cable to the negative terminal.
Use the wrench to screw back in the nut to secure the cables to the terminals.
Step #9: Final checks!
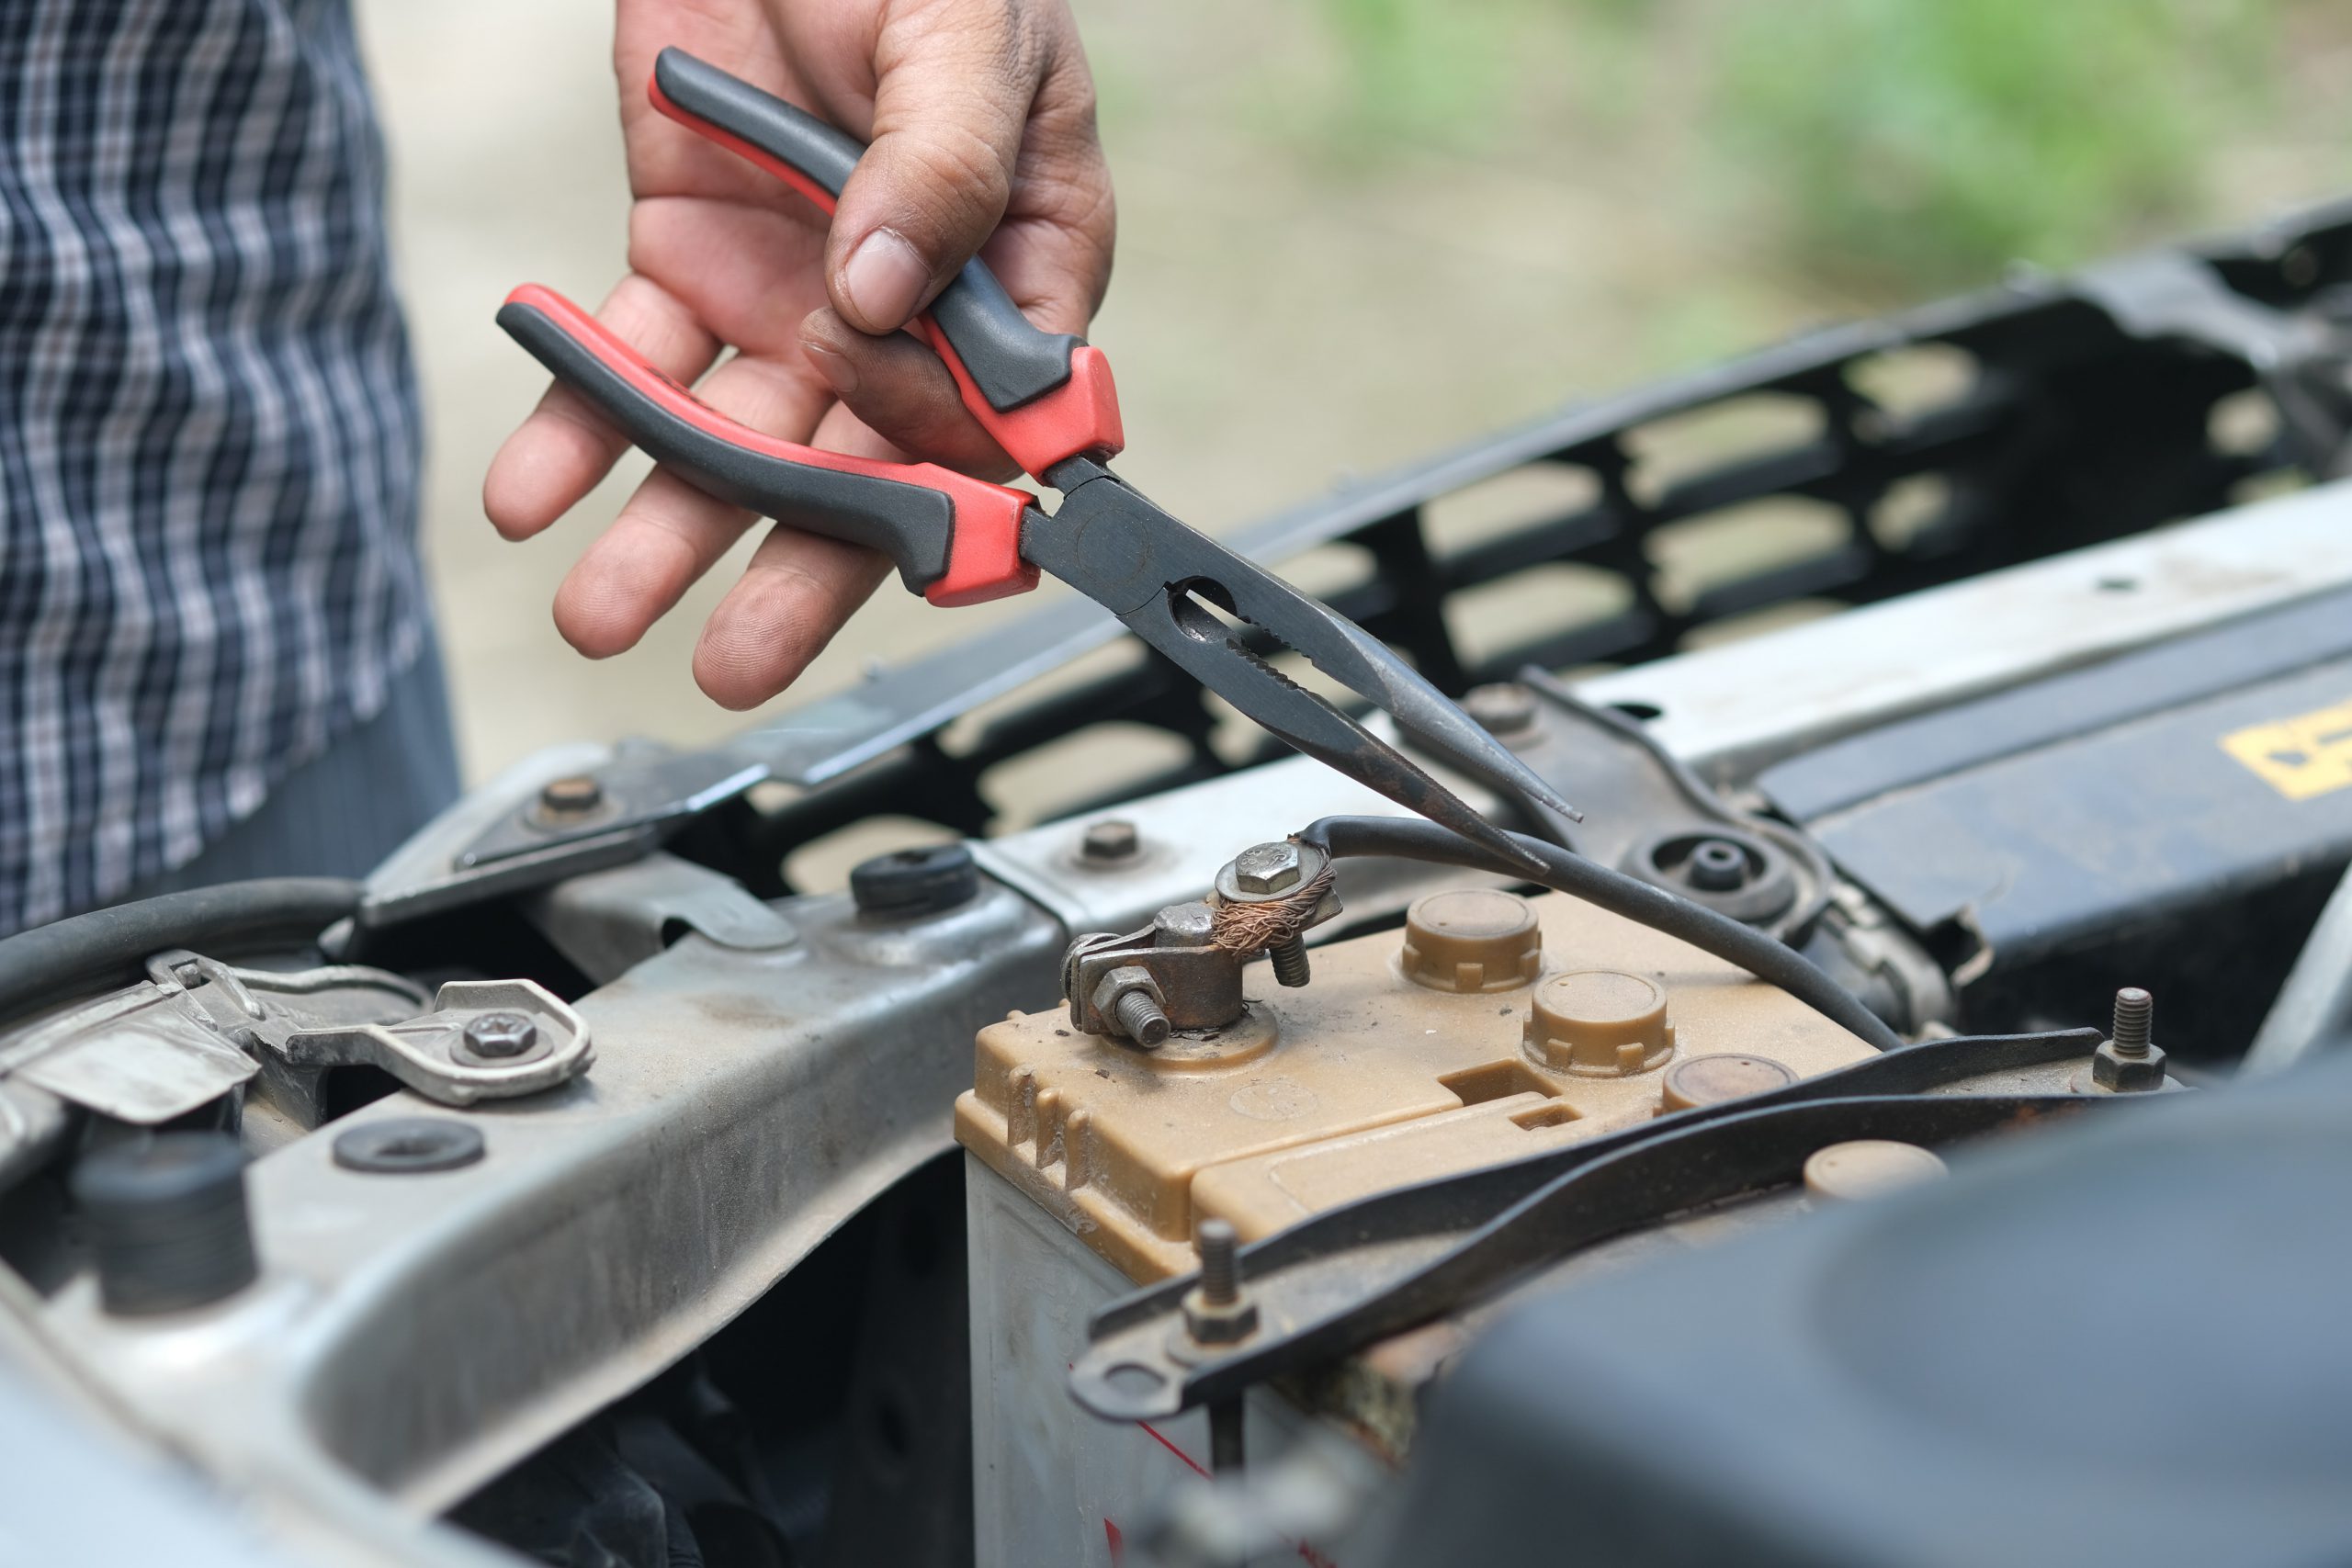
Image Credit: Towfiqu Barbuiya | Unsplash
Make sure that everything is back in its place and secure. Once you’ve ensured that it is, you can close the hood and start the engine. This way you can check if all the connections are working properly.
If so, congratulations, you’ve just successfully finished replacing your car battery!
Also, do note that you should not be throwing away your battery with your household waste. Instead, you can take your old battery to your local auto garage or recycling centre who will take your car battery for a small fee.
If you’d like a visual aid to change your car battery, here’s a step-by-step video that walks you through the process.
Older cars might experience more problems with their batteries, so if you’re ready to get rid of your car and are tired of paying to replace the battery or even just exhausted from changing it yourself, sell your car to Carro!
Simply enter your details here and we’ll auction it off to 1,000 of our dealers to get you the best price for your car. Why sell anywhere else when you can sell with Carro?